Hey friends! Hope you’ve all had a great Monday, or at least a bearable one. I’m finally doing my first beauty post! No longer will that beauty menu tab lead to an empty content page. Slow clap for me!
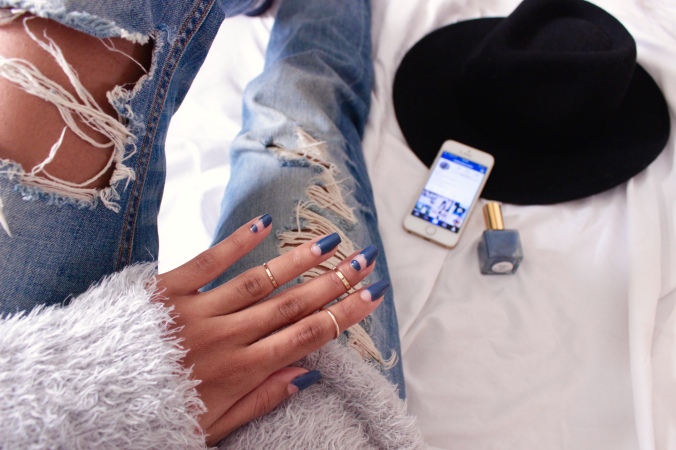
So for this first beauty post, I wanted to share one of my latest obsessions; the negative space mani. I have been nonstop re-pinning pictures of these manicures on Pinterest and they’ve quickly become a favourite nail look of mine this season. Negative space manis are sort of like cut out dresses for your nails. They let sections of your bare, unpolished nails peek through polished sections. I’m obsessed! I think it’s such a fresh and fun twist on a typical manicure. Also, there are so many options in terms of the colours and shapes you can go for (check out other examples of these manis here). For my first attempt at the negative space manicure, I chose to do an alternating curved pattern. Here’s how I did it:

What you’ll need:
1. Nail file, nail clippers, and nail polish remover
2. A base coat
3. Paper reinforcements
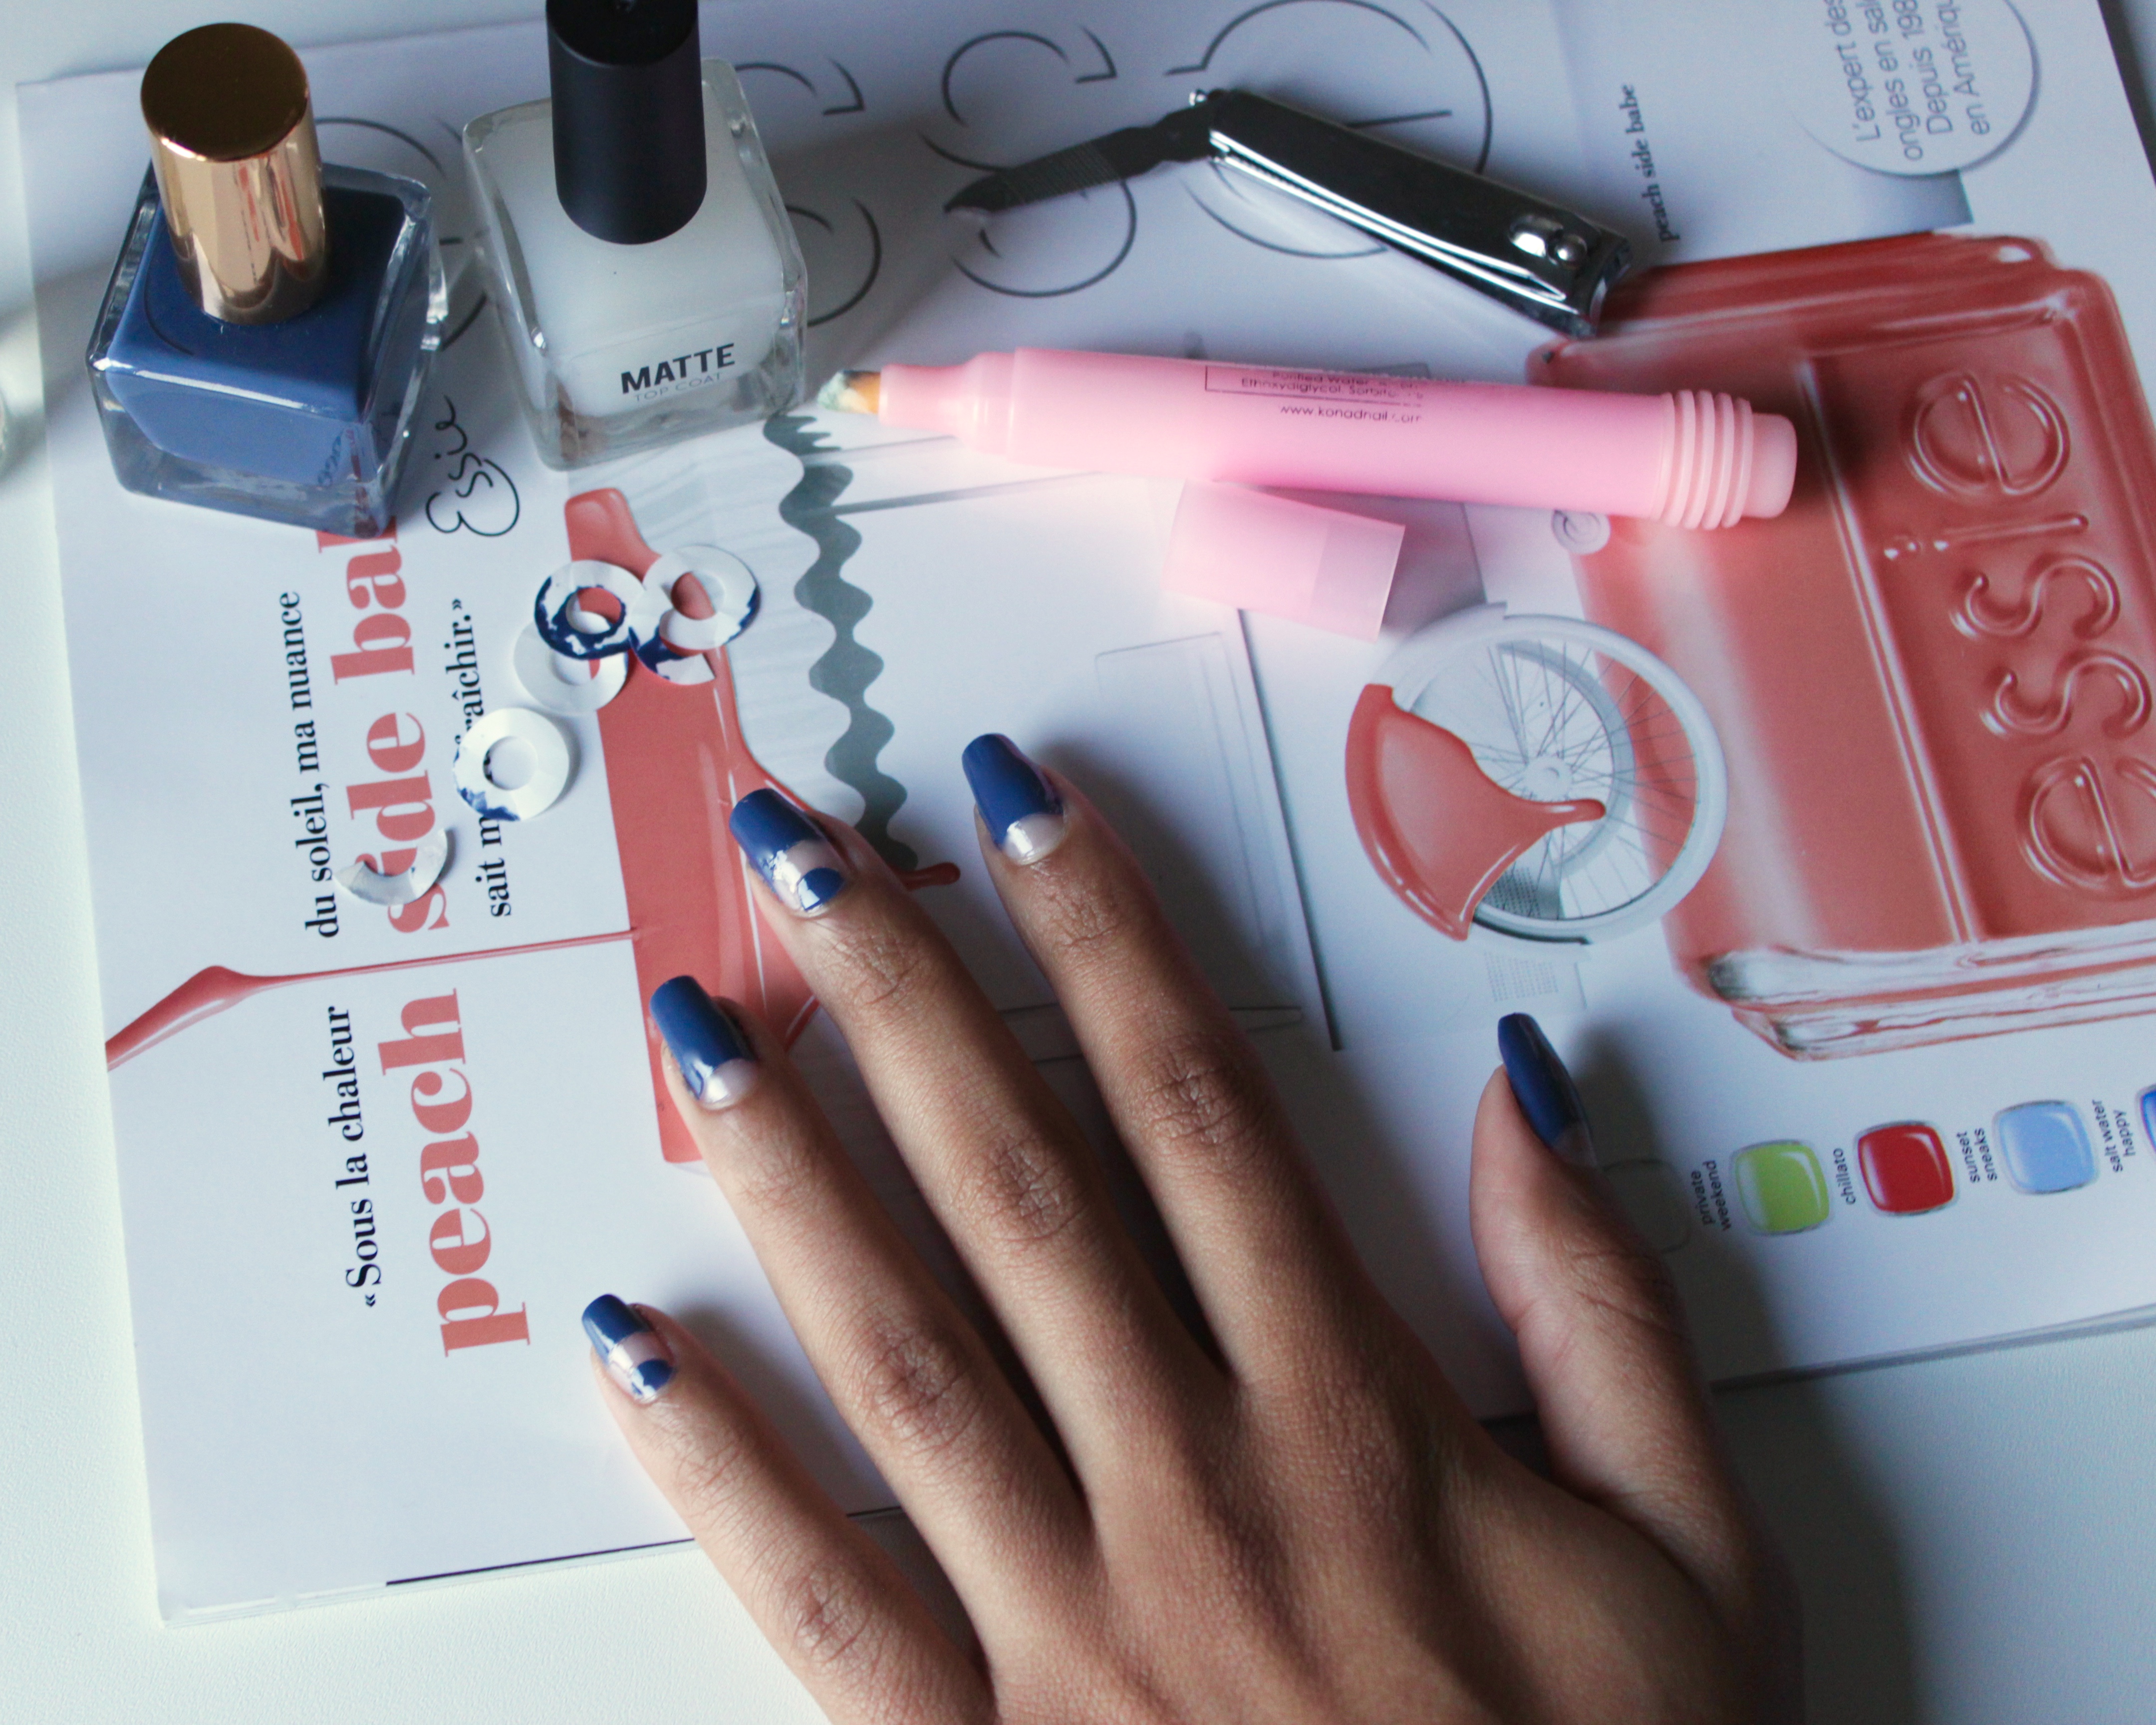
4. Your choice of nail polish, I’m using this navy colour (Jane) from Urban Outfitters
5. Your choice of a matte top coat, again this one I have is from Urban Outfitters (this is optional but matte is everything for fall!!)
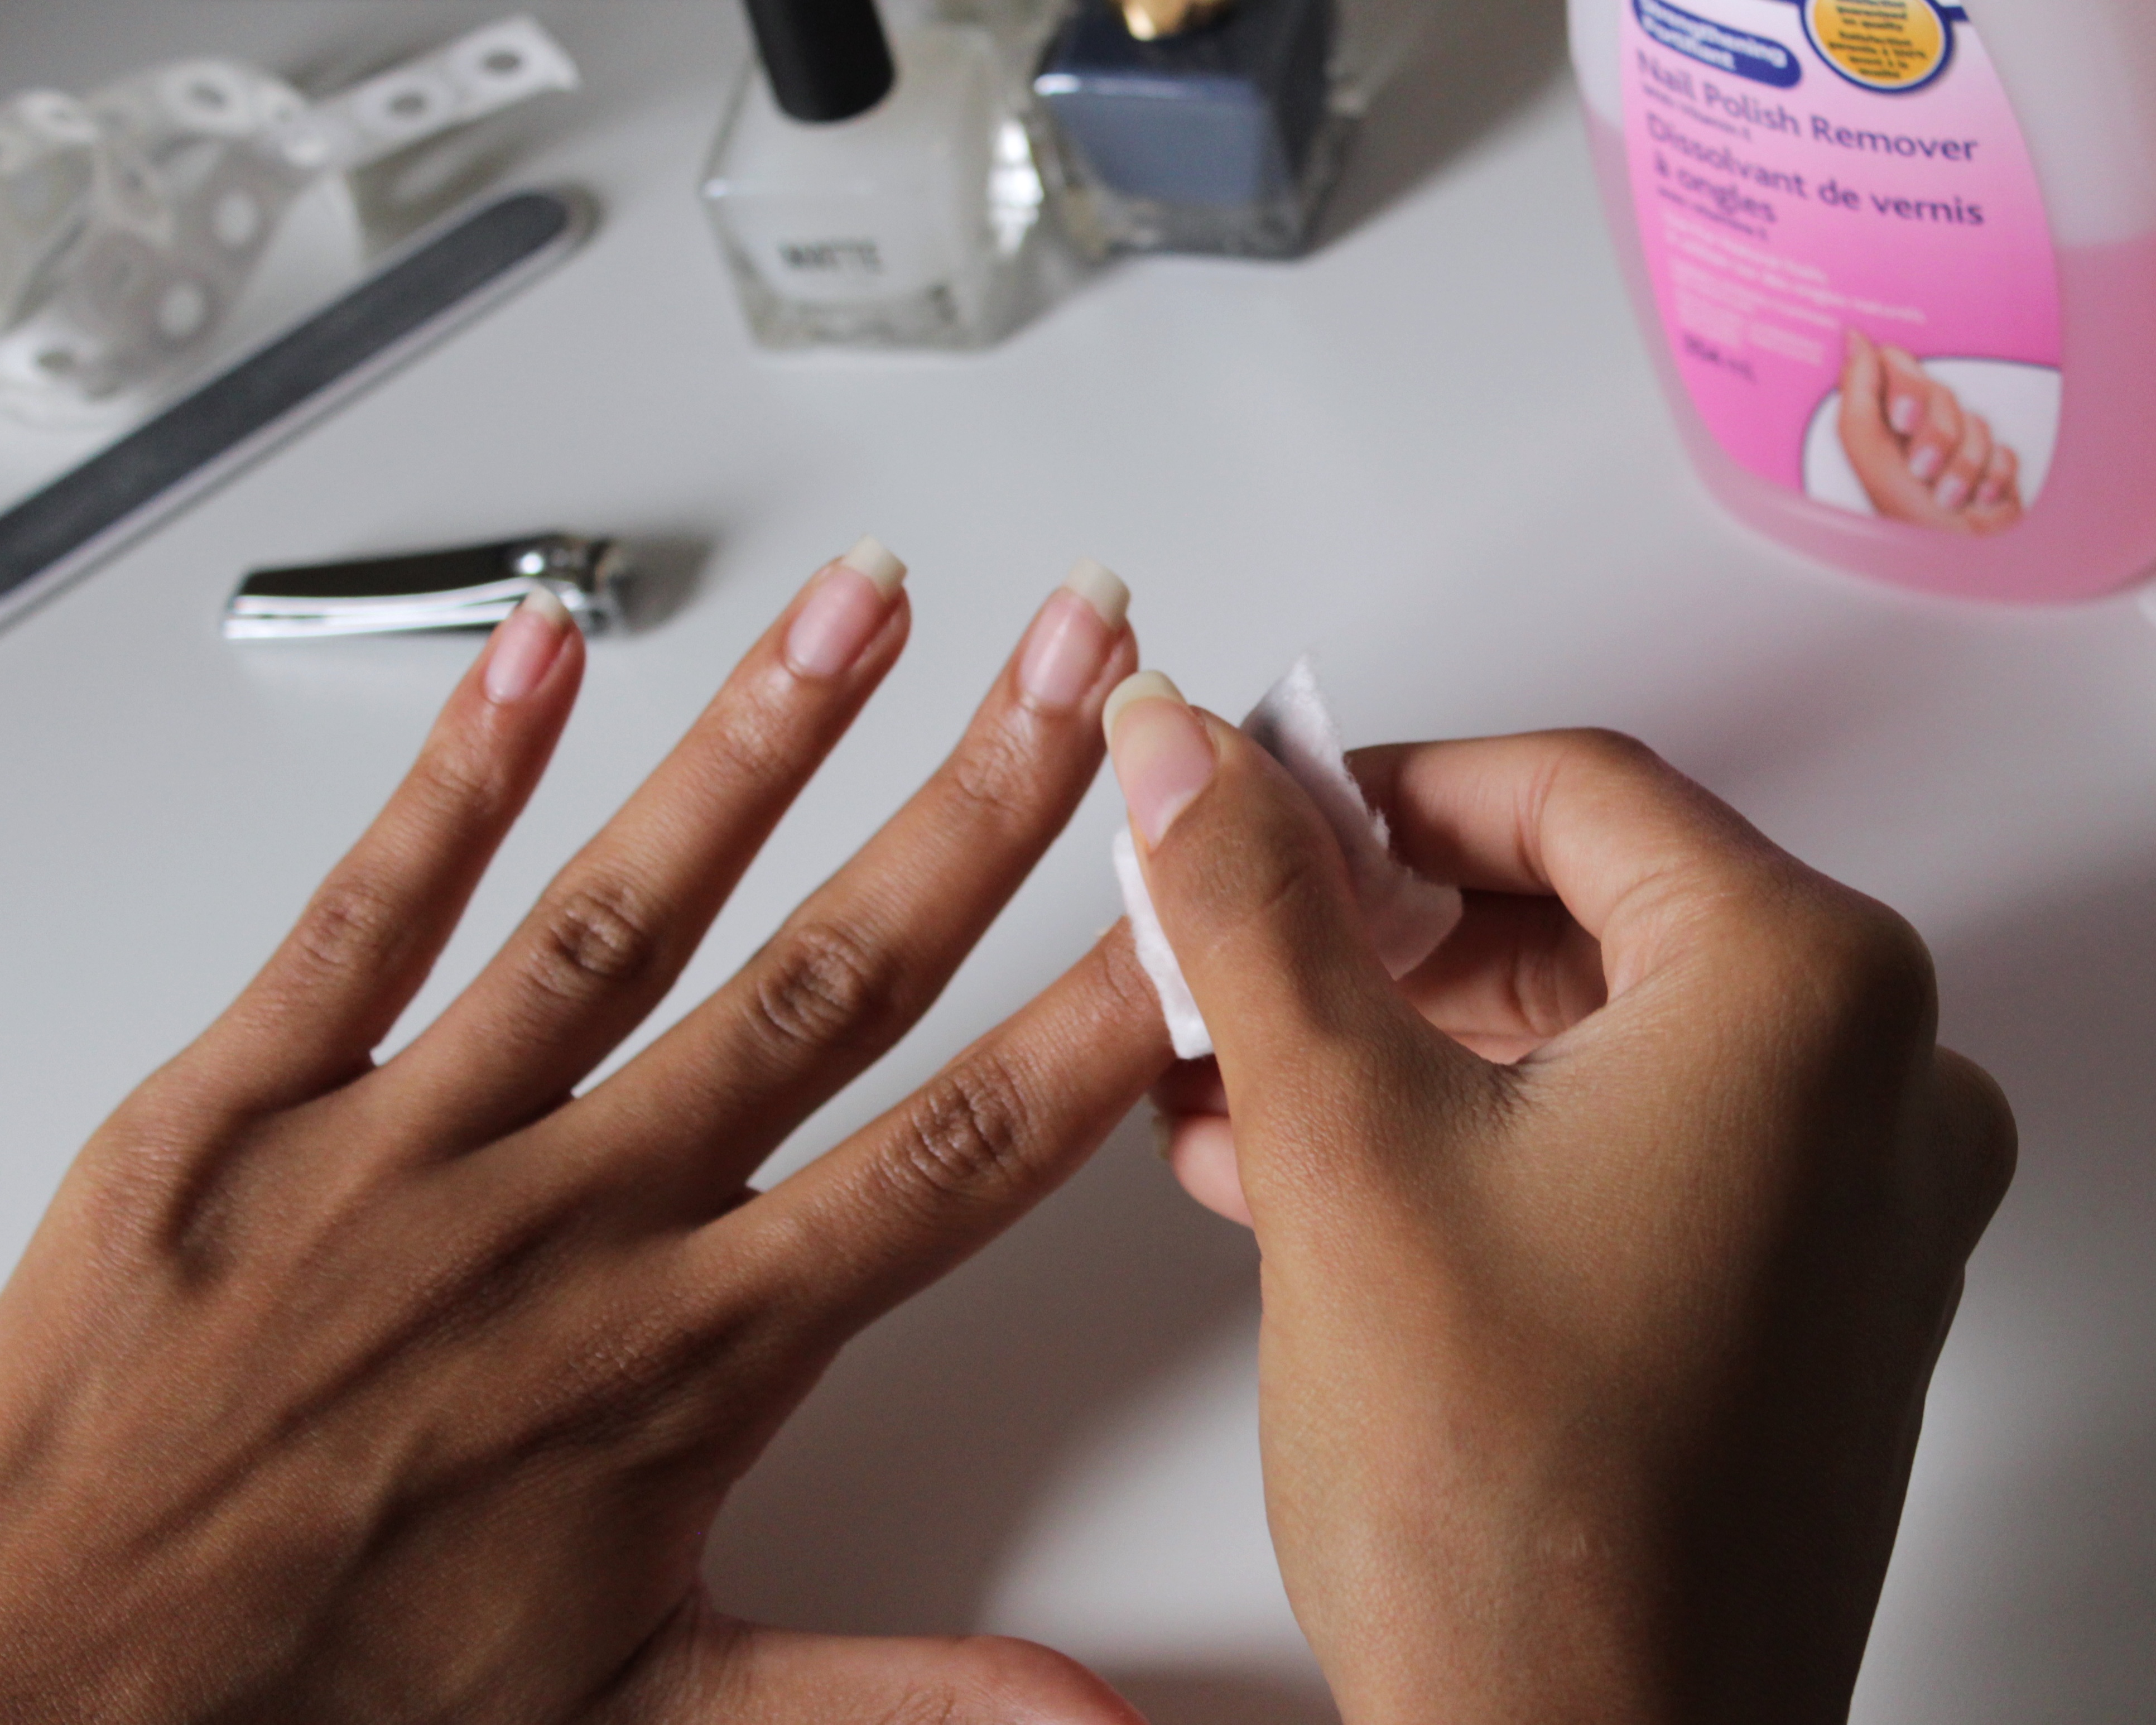
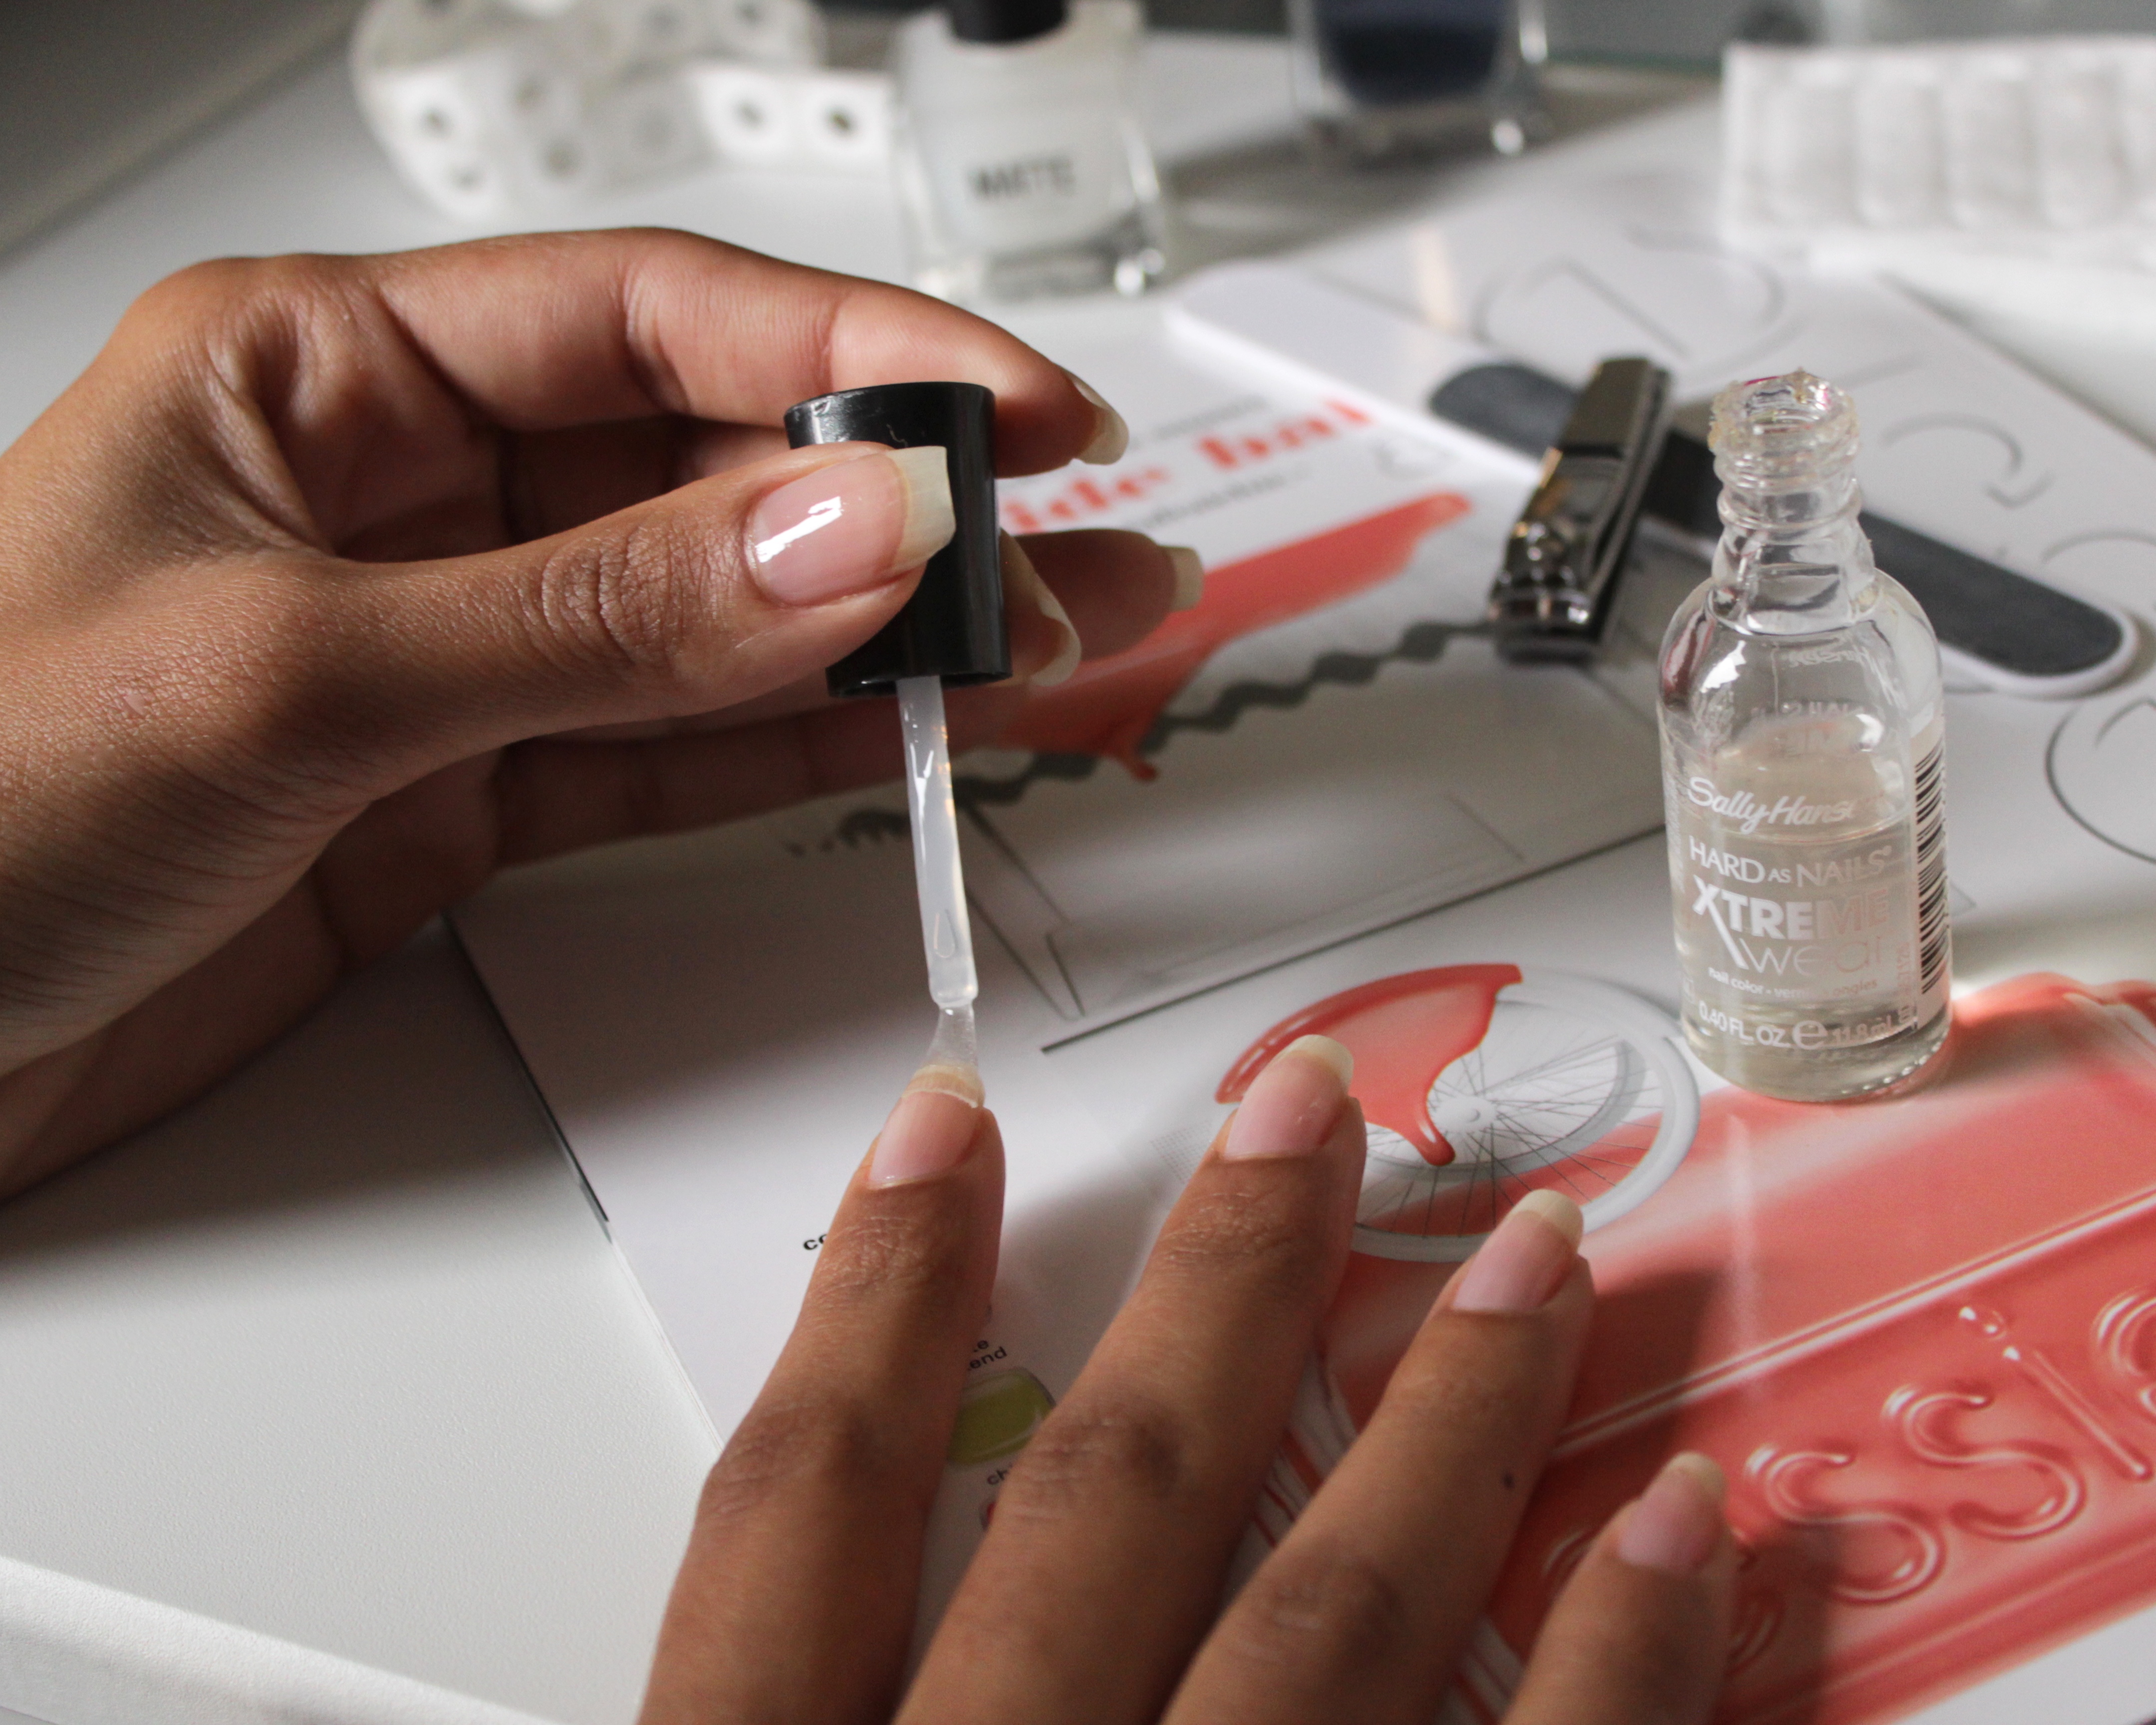
Okay, so when I do my nails I always start off by choosing the nail shape and length that I want. This time I went for short to medium length nails. For the shape, I chose square nails, my usual, but with slightly rounded edges. Next, I use nail polish remover to remove any leftover polish and to get any oils off my nails. Then I applied two coats of a clear base coat.

I then cut a few of the paper reinforcements in half and placed them in the middle of my pinky and middle fingers. Then used whole reinforcers on my other fingers to cover a small half circle shape at the root of my nails, to create half moon manis on those nails. Hmmm hope I made that clear, it’s a little hard to explain. Hopefully the pictures are doing the job.


I went on and painted two coats of the navy polish on any visible parts of my nails. I let both coats dry completely before moving on.

Once dried, I carefully peeled the paper reinforcements and there began the struggle/Pinterest fail. I think I may have left the reinforcements on too long because when I peeled them off, the glue was staying on my nails. I suggest removing them a little earlier (not waiting until the polish is completely dry) and maybe sticking the reinforcement on the back of your hands a couple times to get rid of a little bit of the stickiness. I managed to remove the glue using a nail polish remover pen and also used it to smooth out the edges and perfect the polish as much as I could.
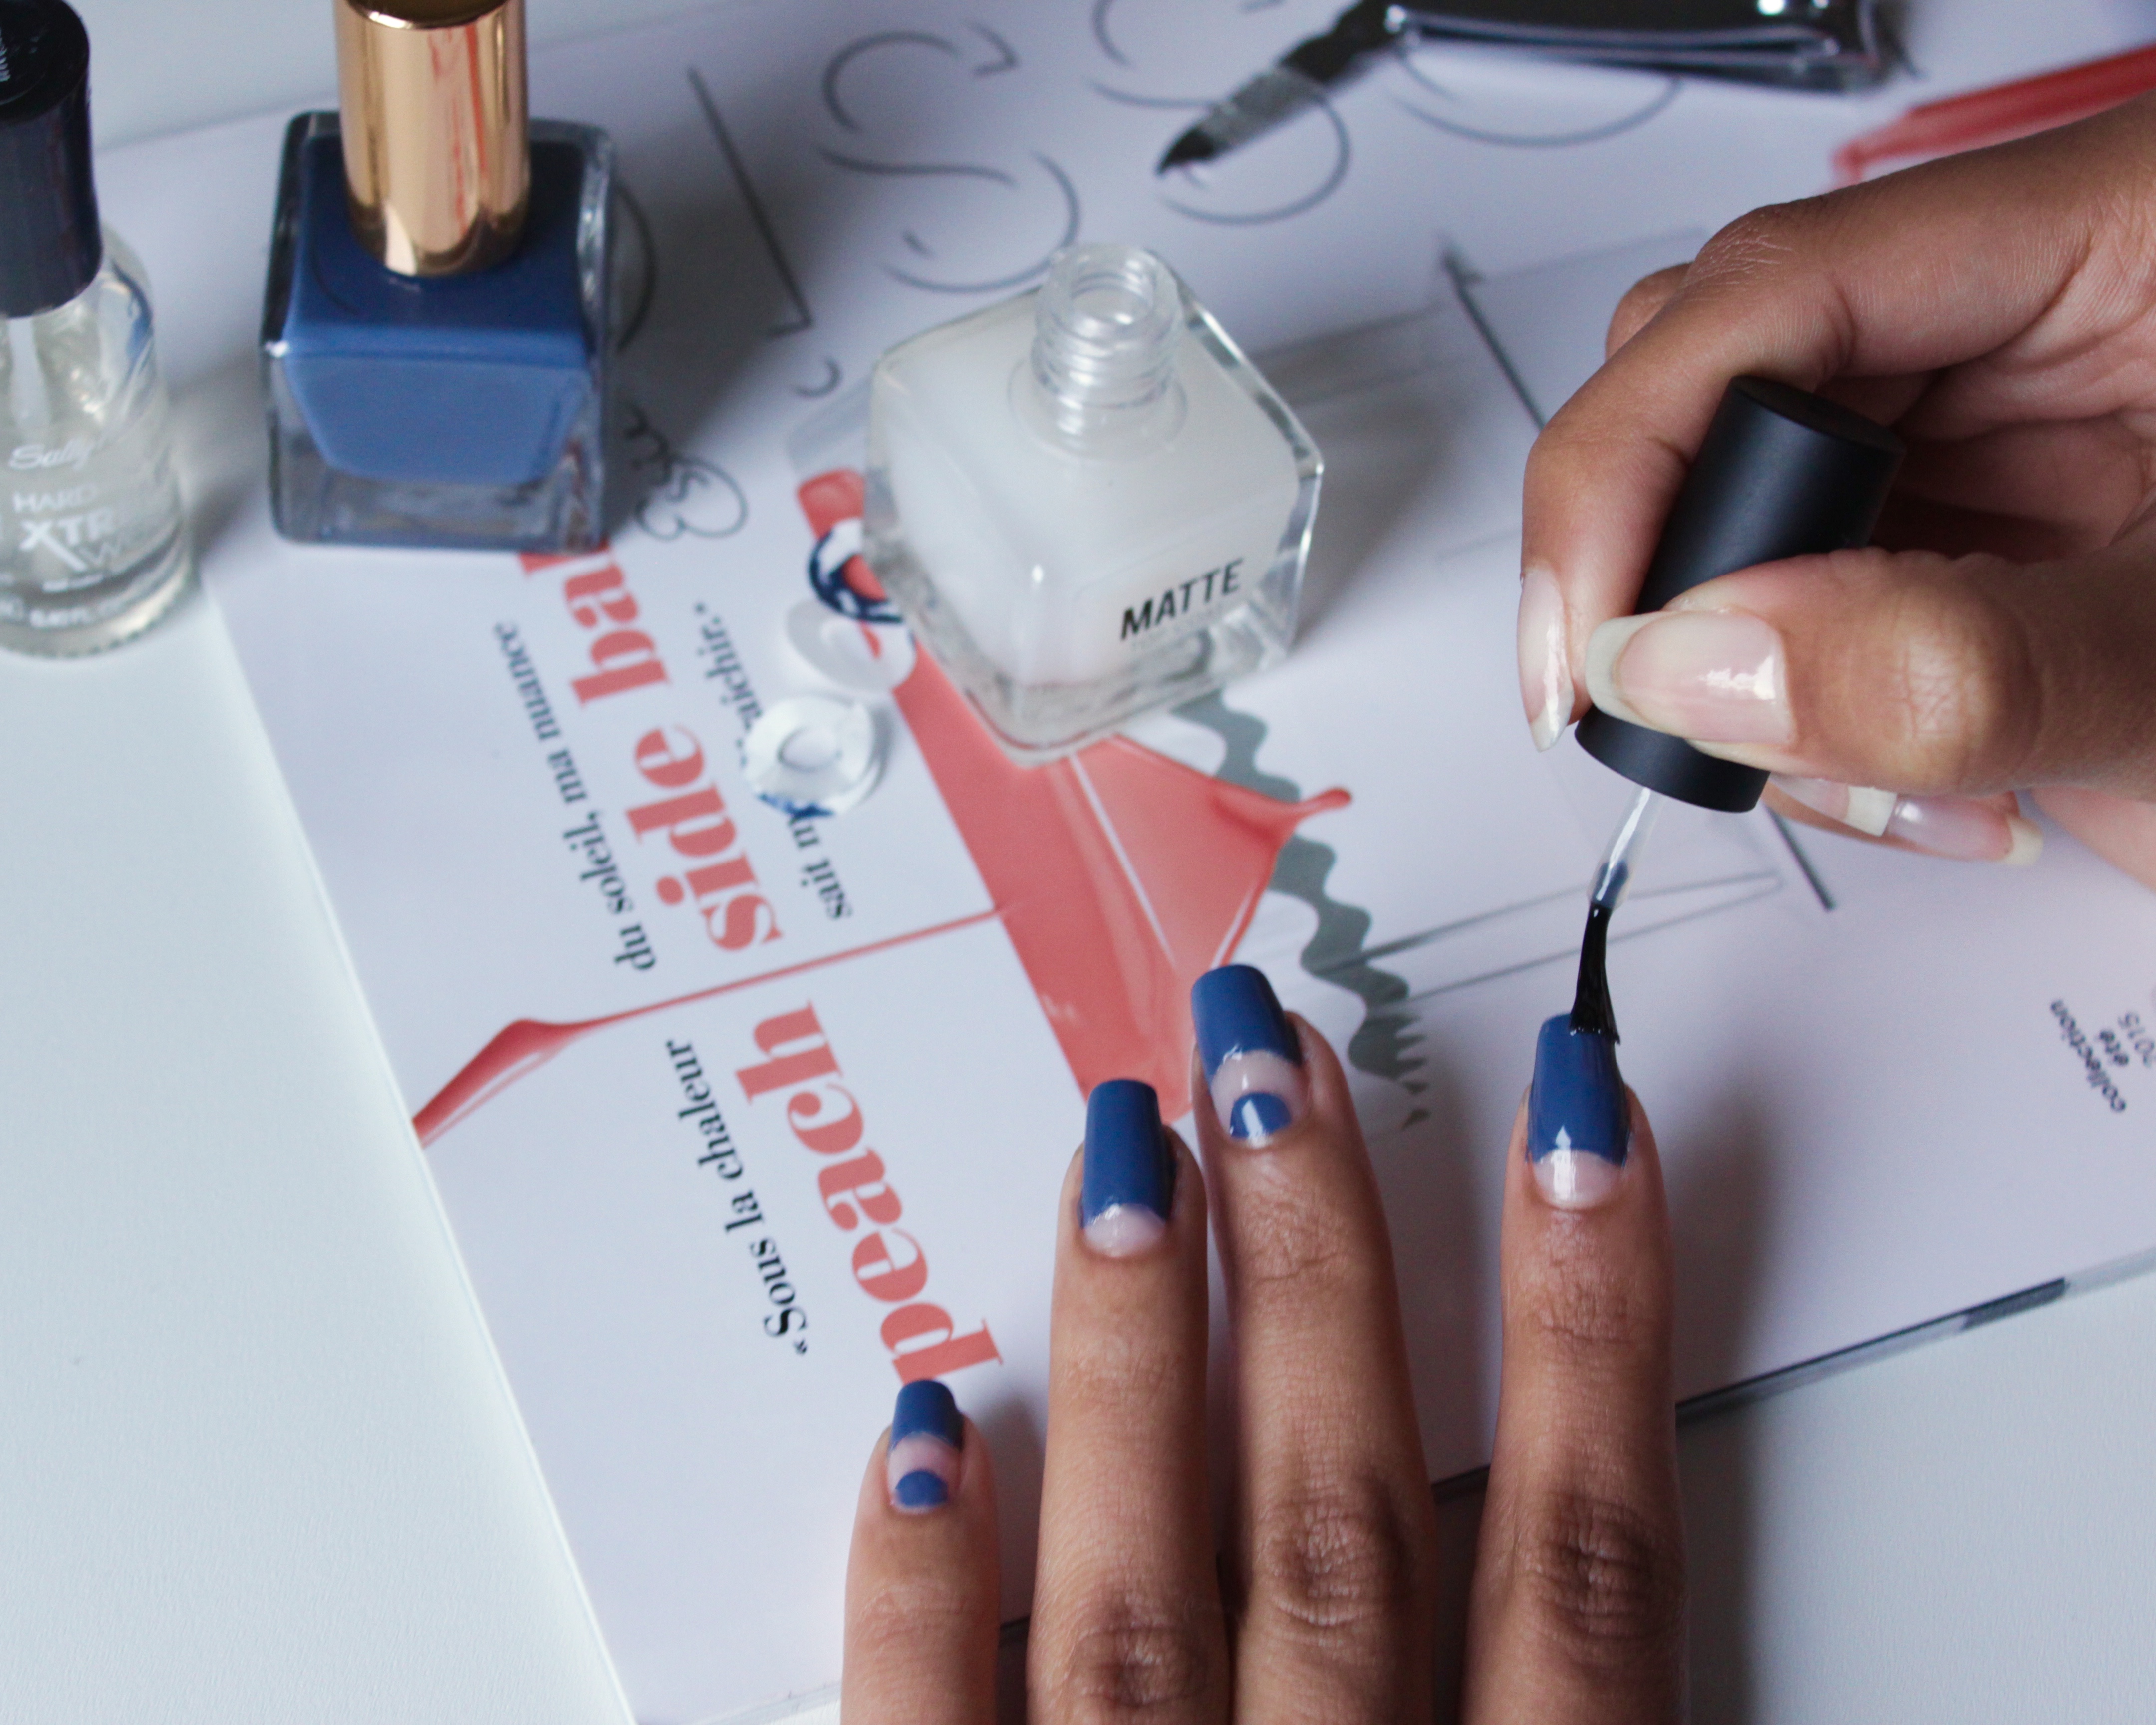
You could stop here and seal your mani with a regular top coat, but like I said, I’m also enjoying the matte look, so I topped my mani off with a matte top coat to finish it all up!
I think I did pretty well for my first attempt at the negative space mani (minus the sticky mess). I think next time I’ll try a pattern with straight lines, I think that’ll be easier. What do you think about this mani trend? Will you be trying it? If so share your pictures with me, I’d love to see them! Good Luck!

Gorgeous!!
LikeLike
Thanks Dom!!
LikeLike
That’s a really pretty colour! I’m rubbish at doing anything with nails!
xXx
LikeLike
Thanks! Loving it for fall/winter. I’m sure you can pull it off, give it a try!
LikeLike